Linux RaspberryPI
Attention! FullHD video will play smoothly only starting from Raspberry 4
⚠️ The image can be written to an SD card of any size starting from 8GB. After writing the image, on the first system start, the free space of the SD card will be repartitioned and the system will take up all free space.
Download the image (on request) and unpack it (it is in a ZIP archive). This is a standard Raspberry image, but the player is built in and a small tuning is done (192MB of video memory allocated and screensaver disabled).
After downloading, you need to write the image to the SD card. For this, you can use the Etcher program, which is available for Windows and MacOS. Download ![]() , install and run Etcher.
, install and run Etcher.
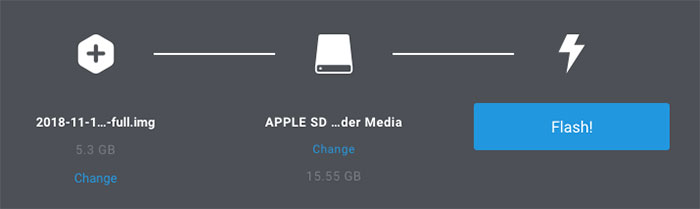
Select the downloaded image in *.img format, select the desired SD card and click the "Flash!" button. Etcher will start writing the flash drive. After writing, it will verify the data on the SD card again. This will take about 5-10 minutes. After completion, you will see a corresponding message.

Now you need to remove the SD card from the system and take it out of the computer. You can proceed to the next step!
Connection and first start
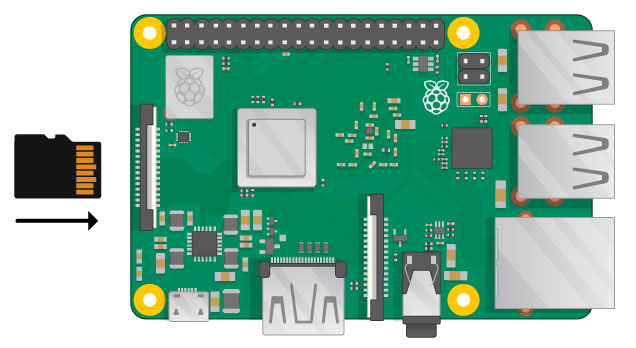
After you have written the image to the SD card, you need to insert it into the slot on the Raspberry Pi. Note - the memory card must be inserted with the contacts facing the board.
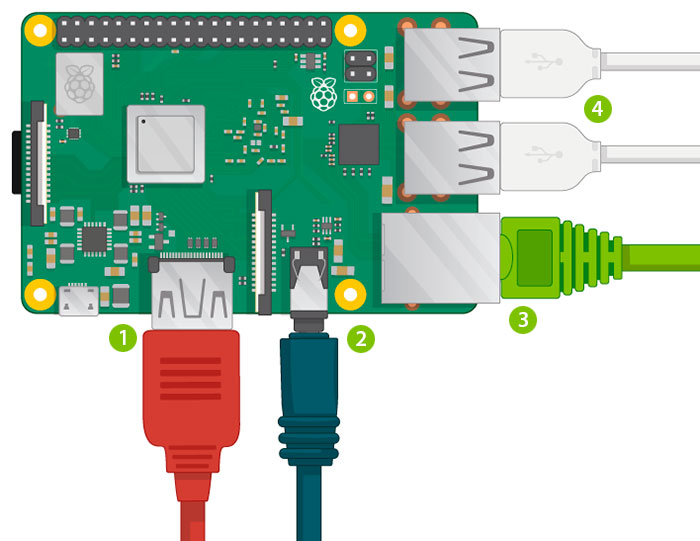
Next, you should connect all necessary cables as shown in the picture below:
-
Connect a monitor or TV to the HDMI port.
-
Connect a cable from the local network to the Ethernet port for internet access. Raspberry has a built-in WiFi module and it can be enabled
 (for this, you need to turn off the player with ALT+F4)
 -
Connect a mouse and keyboard to the USB ports.
For powering the Raspberry Pi, a 5V 2.5A power supply with a Micro USB connector is required. Connect it as shown in the picture below:
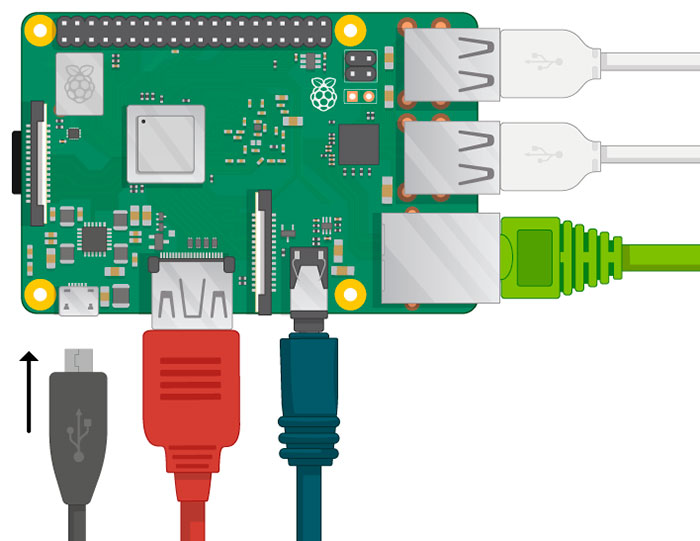
A red LED will light up on the board - this means power is supplied. Four Raspberry Pi logos will appear in the upper left corner of the screen and the system installation and boot will begin.
After booting, the player will start automatically.
Press CTRL + N to bring up the player configuration window.
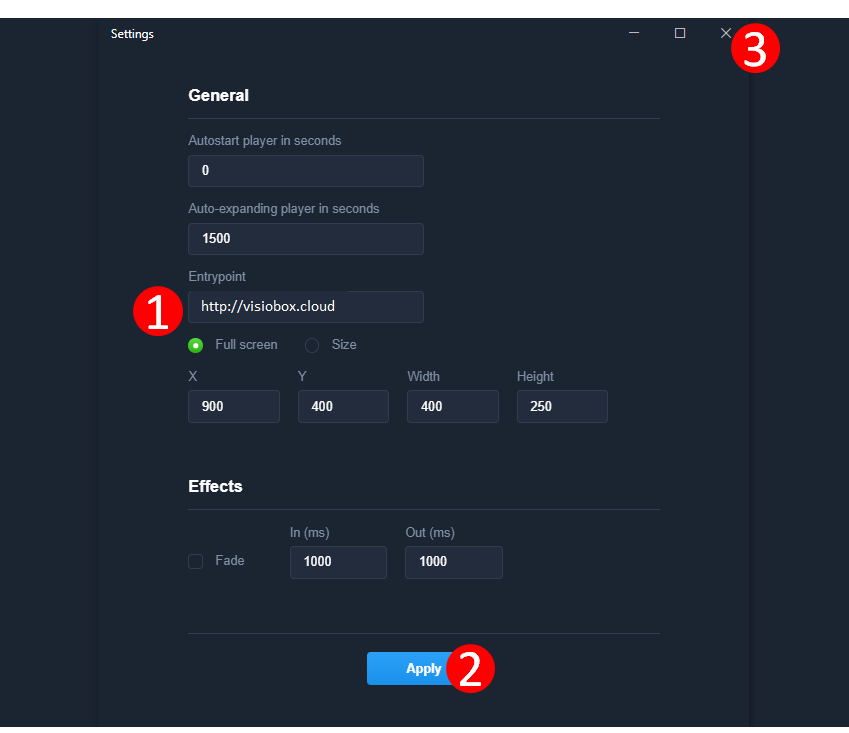
⚠️⚠️⚠️ Enter your server address.
If necessary, specify the player output area (by default - full screen).
Press APPLY and close the menu.
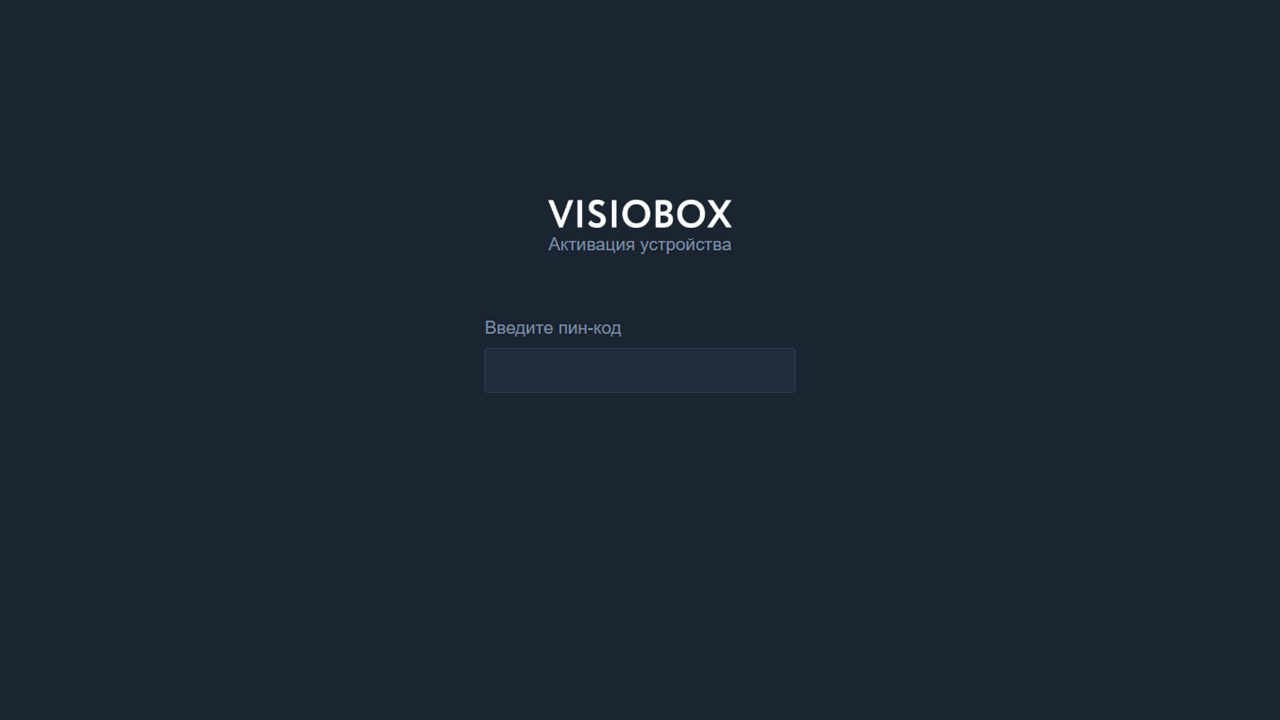
Enter the activation PIN code issued in CMS and press ENTER
Make sure the player is online in CMS
Wait to receive content from CMS